Project in Process..
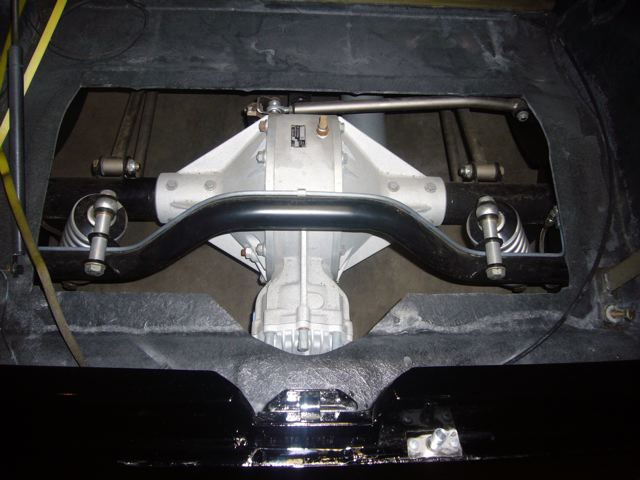
32 Highboy Wescott body on Jim Meyers Racing Frame & Suspension, Winters Quick Change Third Member. This project was partially completed & came into my shop for finishing.
James
503-625-7650
Brothers Hotrods
[email protected]
Rats, Customs & Rods for the road, no trailer queens allowed.
James
503-625-7650
Brothers Hotrods
[email protected]
Rats, Customs & Rods for the road, no trailer queens allowed.
.
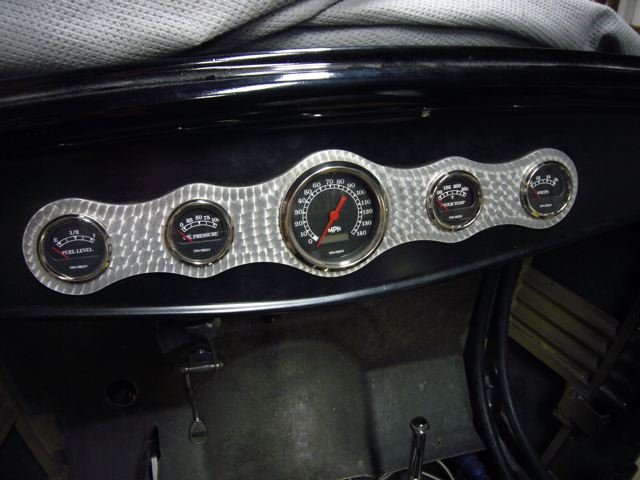
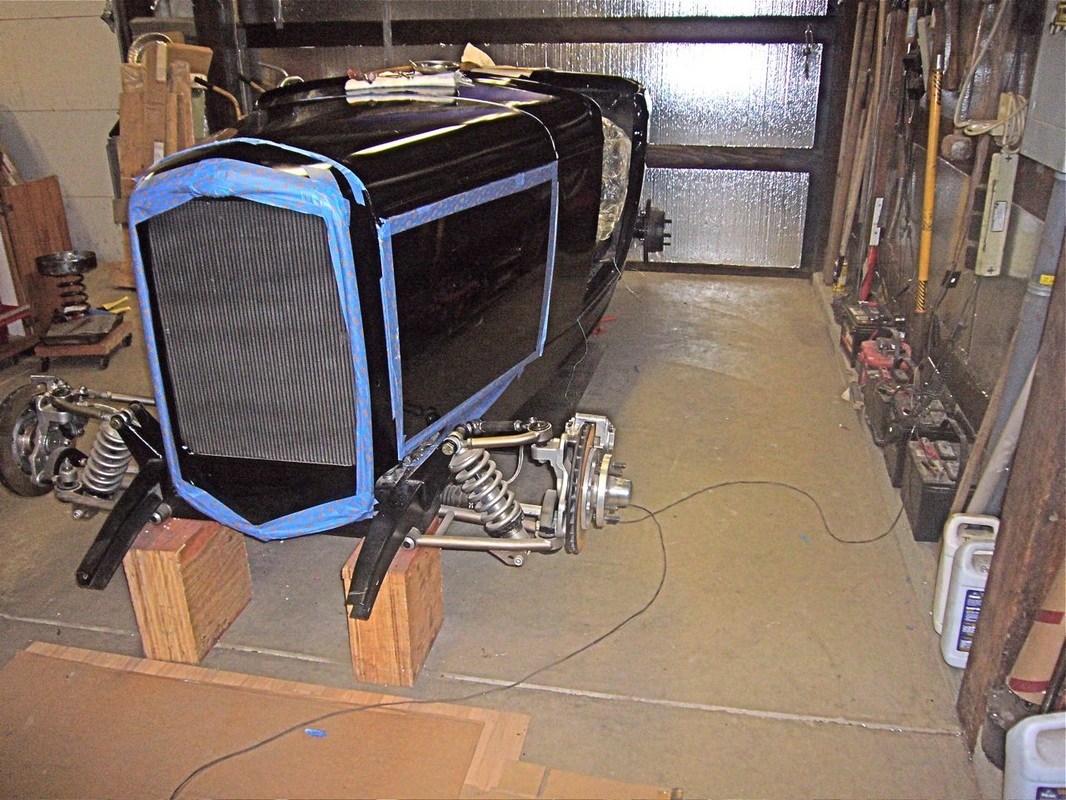
Condition of 32 when it came into shop. Jim Meyers Racing frame, suspension, motor & tranny mounts, hand fabricated alum. fuel tank by Jim Meyers, brakes, motor, tranny & rear end placed, hand fabricated alum. dash by Jim Meyers. All quality parts & workmanship.

If you have ever wondered what a finished hot rod looked like when the fabrication was taking place, read on.
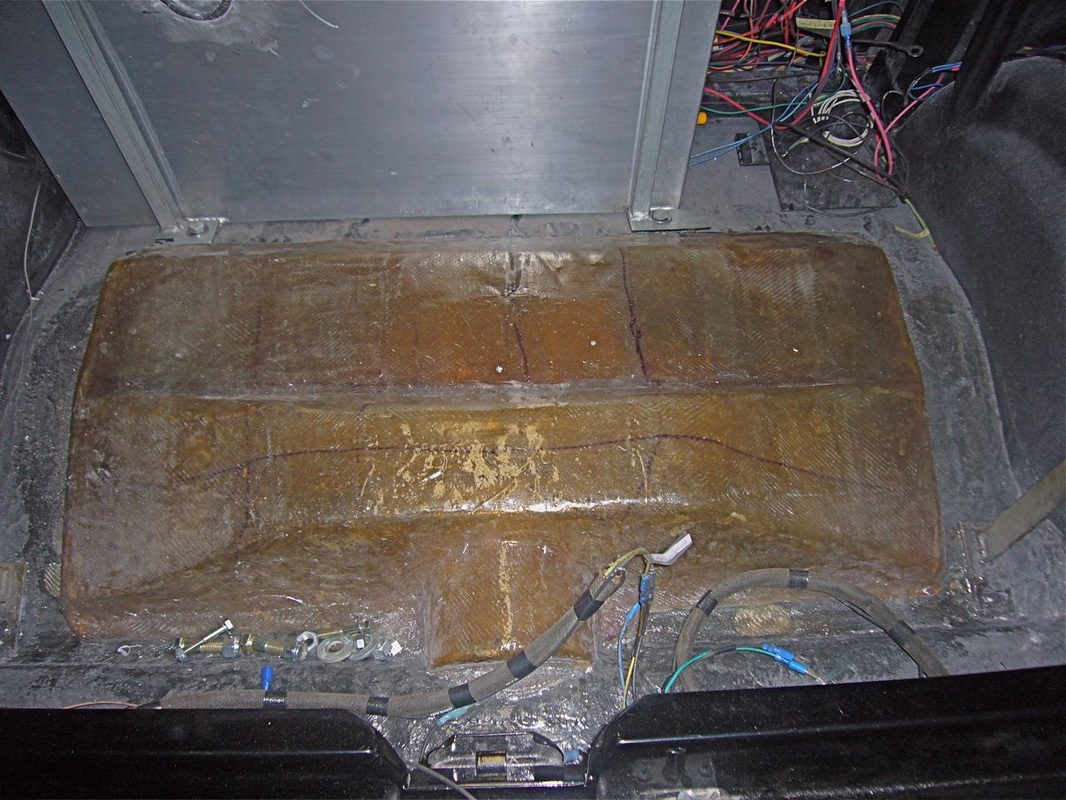
This is the cover for the hole in the truck that was cut to allow the winters 3 member upward mobility. It's hand formed fiberglass.
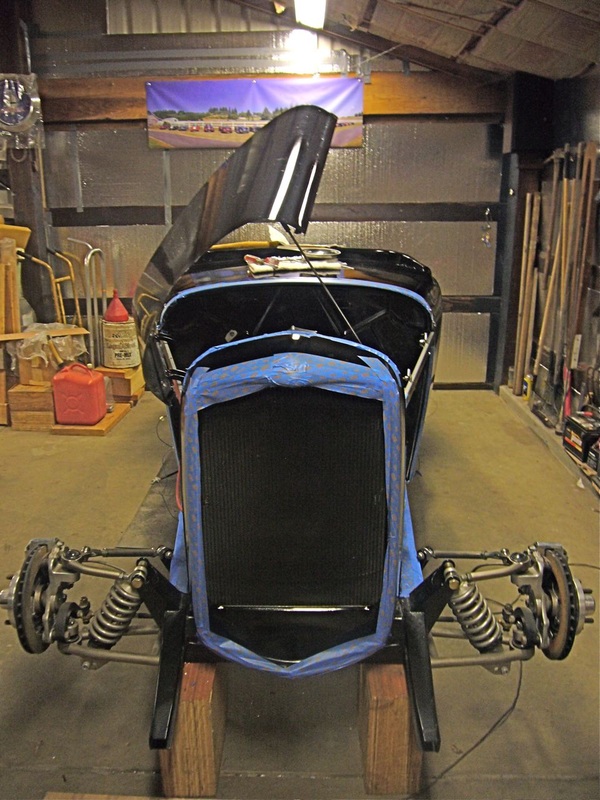
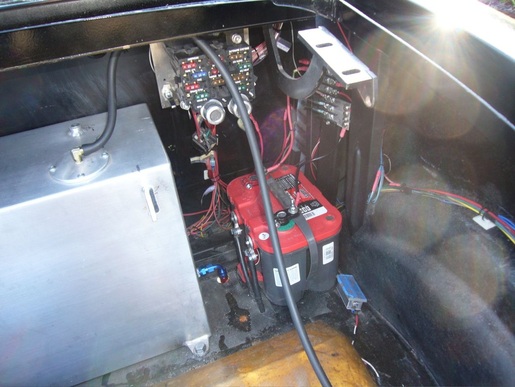
Electric Trunk Opener set up & back up manual opener

Fuel tank modification: The tank came with a beautiful filler tube that was on the side of the tank. Since the tank sits so far into the truck I was not comfortable with sticking a gasoline hose all the way across the trunk's future upholstery to fill tank. Tank was modified to fill from outside via a "cobra" style flip top cover. Also visible are two tank hold down devices that bolt to the "hidden" roll bar that is across the seat back area.
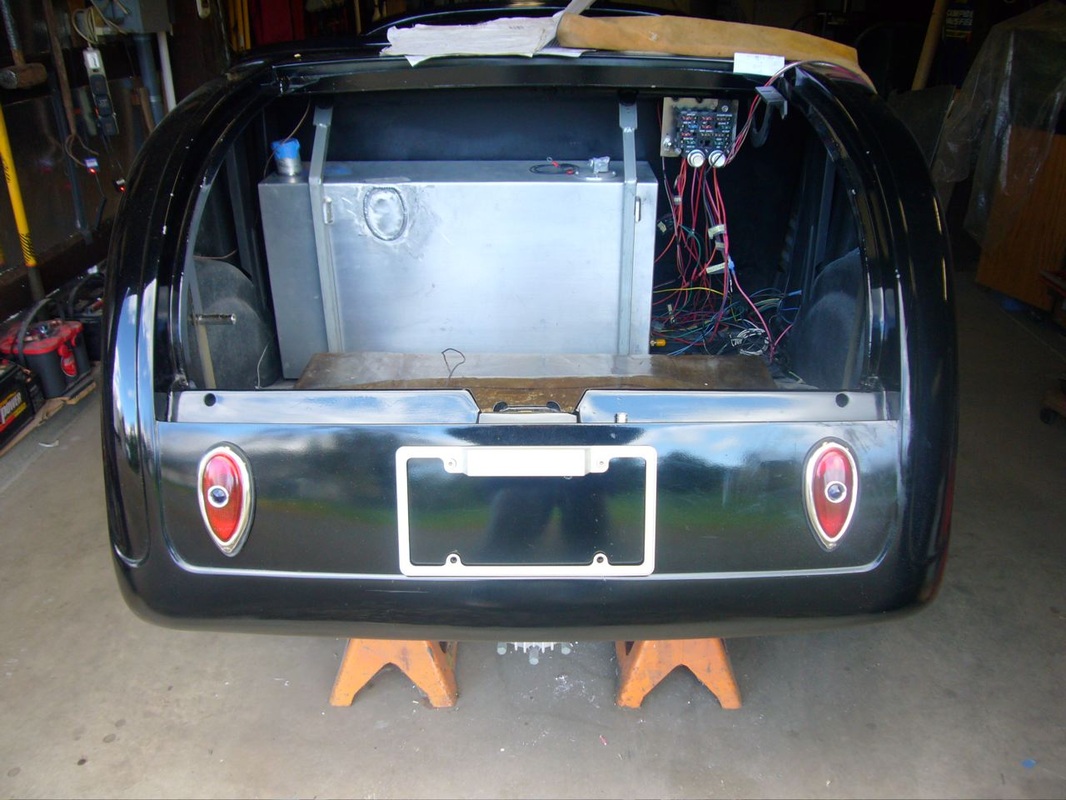
View of Blue Dot rear lights (front lights are blue dot as well) & billet license plate cover being wired.
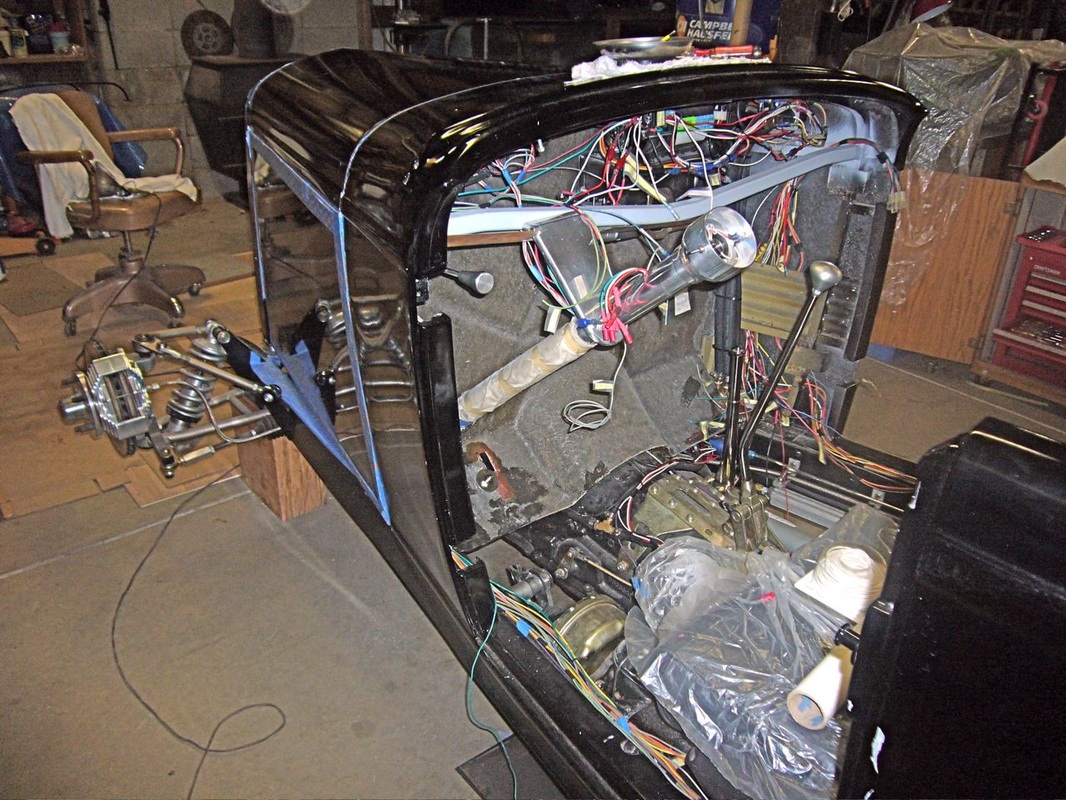
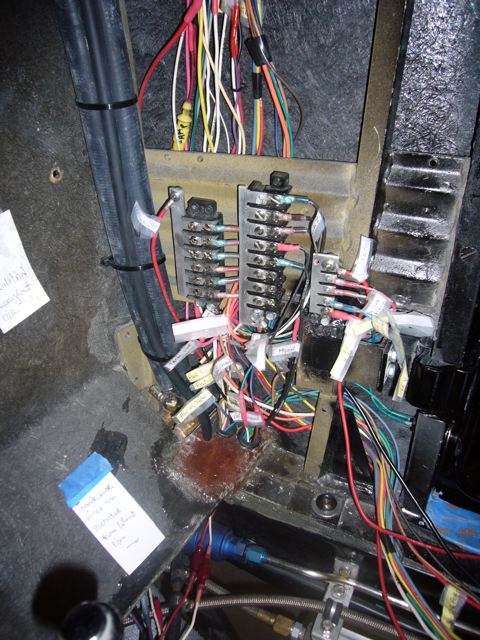
Wiring: You wouldn't think there would be that much to wiring a hot rod. Will take a look. This is before it was tested for proper functioning & "prettied" up with connectors, wire looms & covers. That will come later when I've tested all the connections & switches.

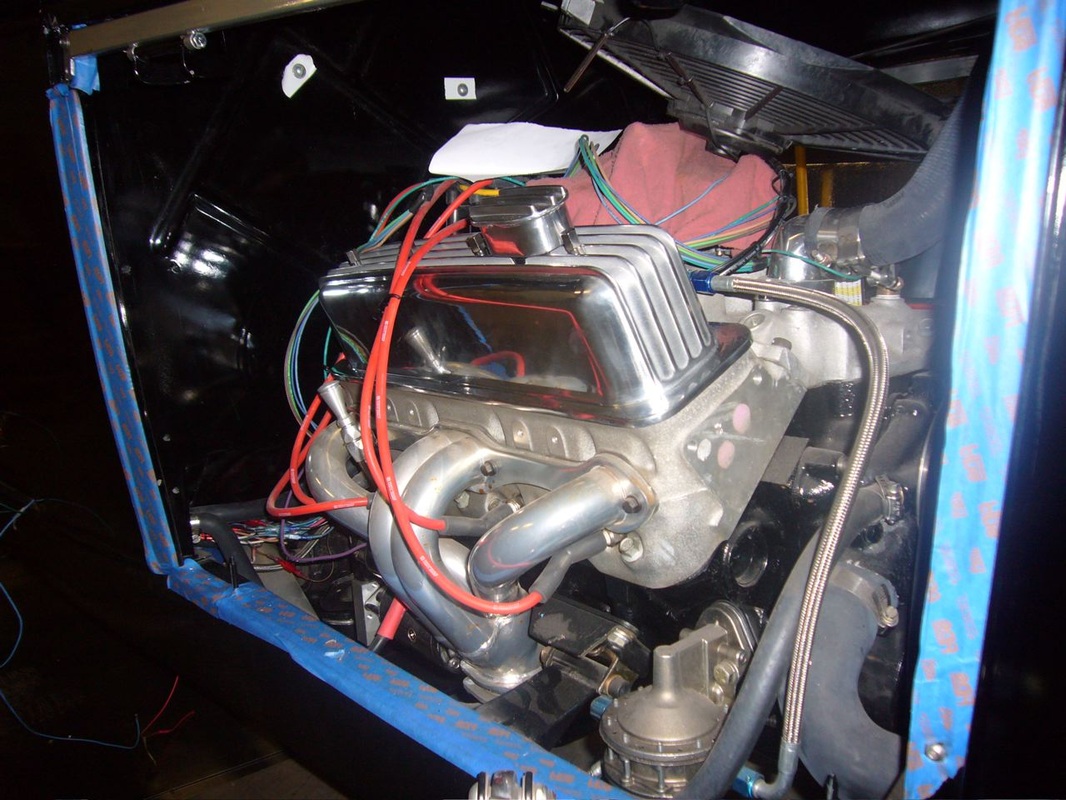
Didn't like the stock ZZ4 valve covers. Replaced with old school ribbed set.
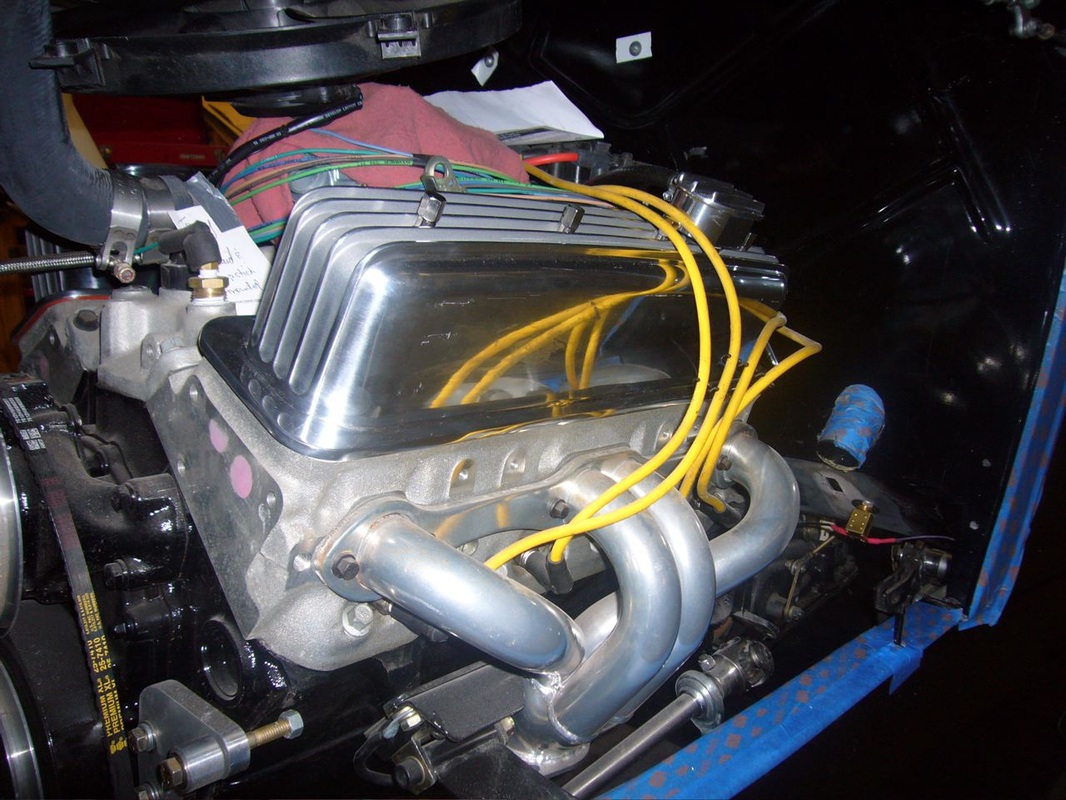
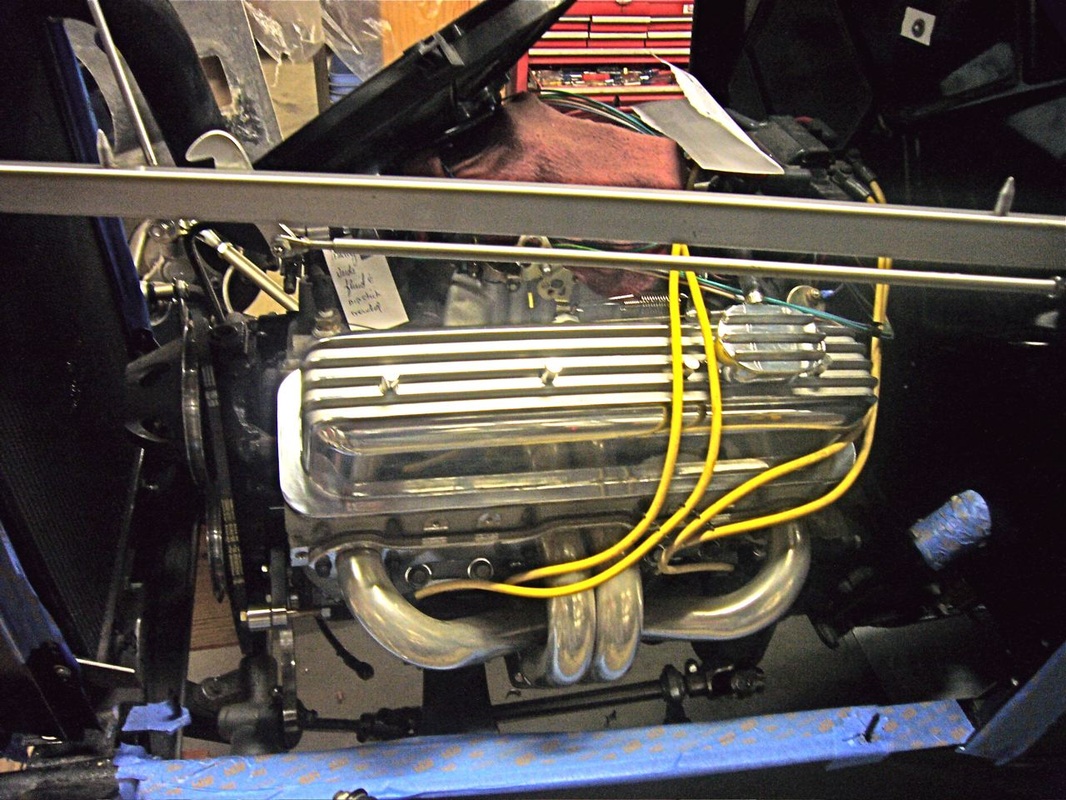
Those of you with sharp eyes will notice that the plug wires are red on one side & yellow on the other - don't worry they are just for testing. Have a nice set of black Taylor high performance wires with billet wire routing kit that will go on later.
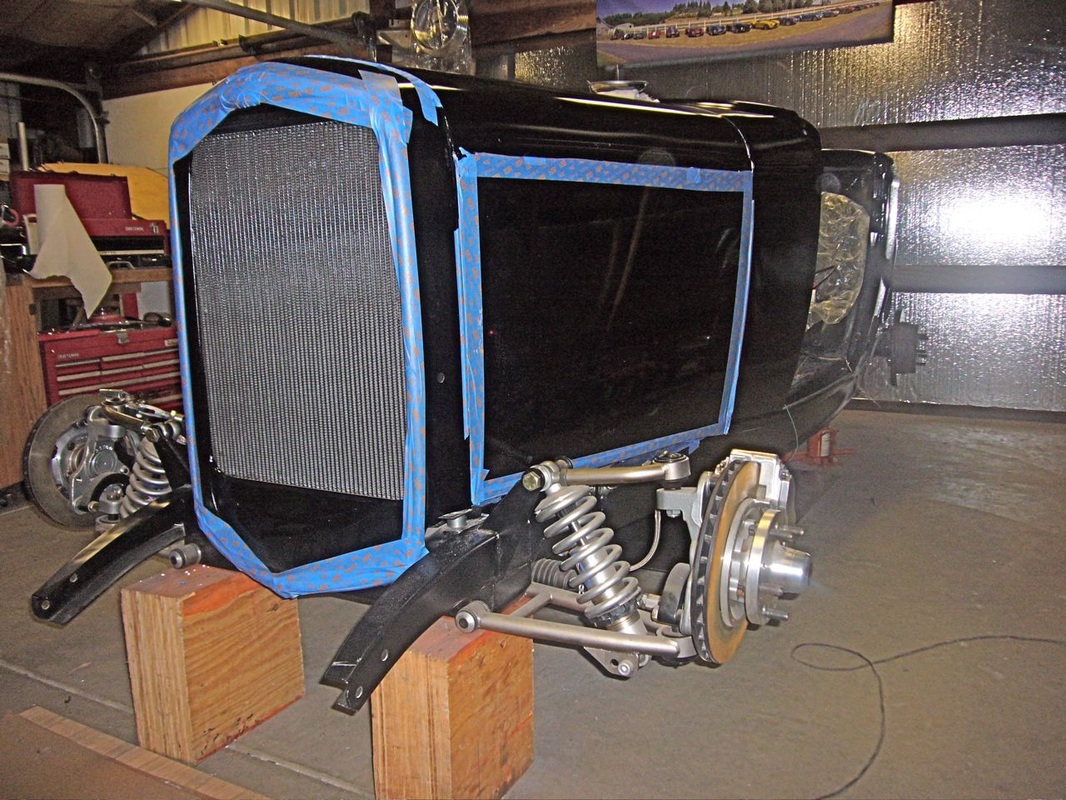
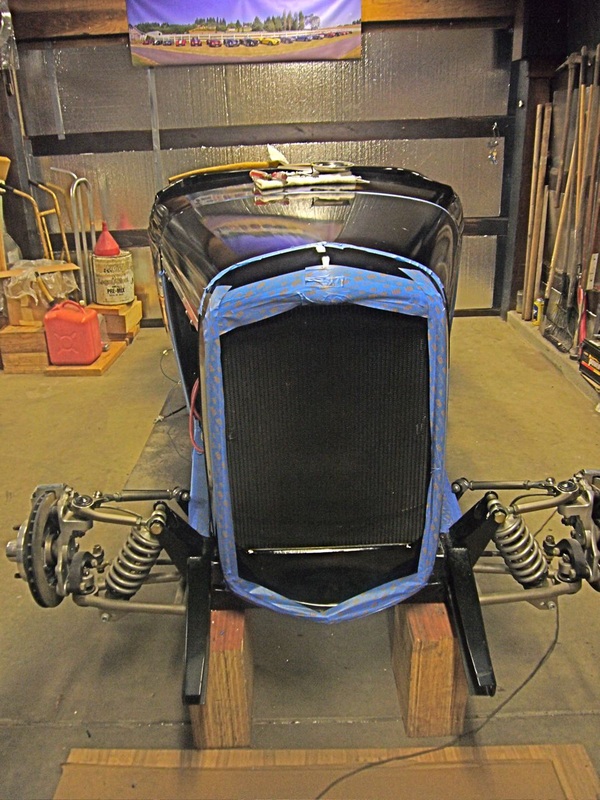
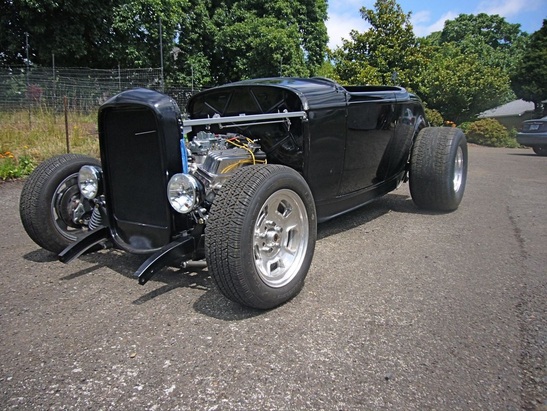
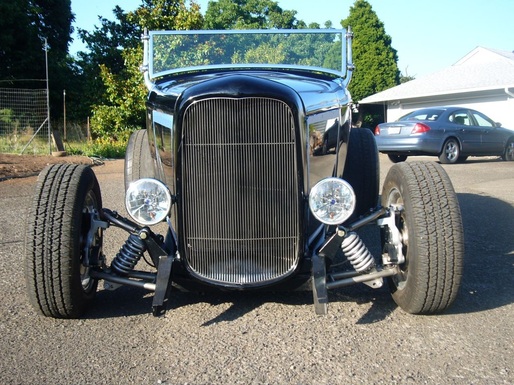
Here are some views of the hood & sides on the car. I'm aligning up all three pieces before mounting the headlights on the grill shell & finishing the wiring.
Thanks for stopping by. What's next? After I'm sure everything electrical works, I'll build the inner panels for the trunk & interior panels (kick & side). They will be either polished or machined metal or fabric covered metal panels. Insulation will be placed throughout the car behind the panels & upholstery. Windshield, doors, trunk lid will be fitted, fuel tank will be plumbed. With these completed it will be ready for wheels, tires & test driving.
When I am convinced everything works & fits properly, everything will be taken off for painting, powder coating, undercoating, and upholstery.
When I am convinced everything works & fits properly, everything will be taken off for painting, powder coating, undercoating, and upholstery.
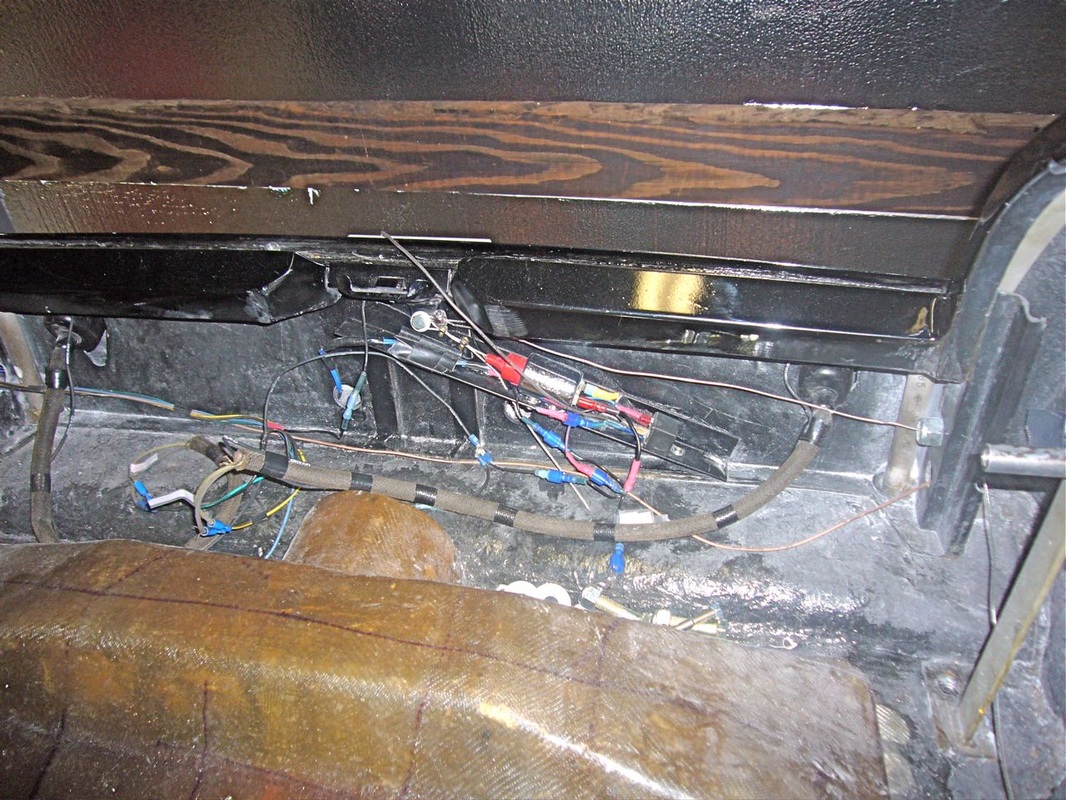
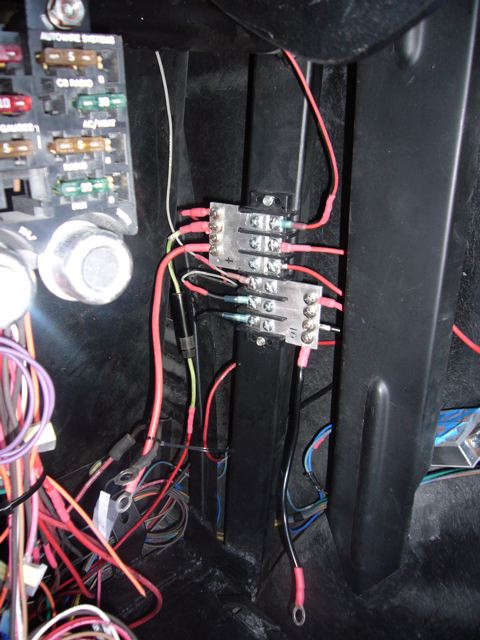
After everything tested out good I'm starting to clean up the wiring. First are these hand made busses. Since all of this will be hidden I have tagged all the wires with their functions. Will save a lot of time in case I have to go back in and modify anything.
On the Ground, start of road tests...
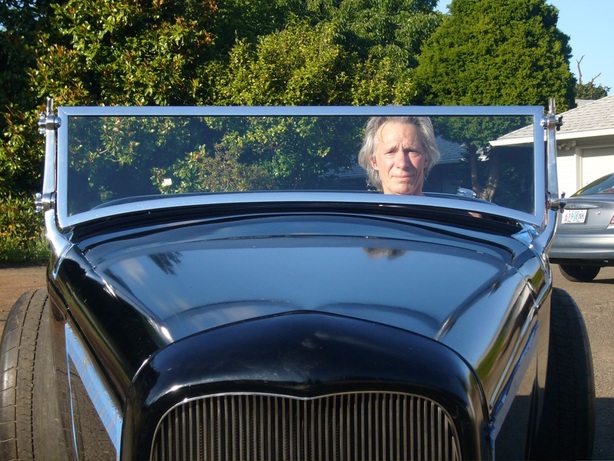
Before fitting windshield, hood & sides...just ran it up the street to test brakes & tanny. See if it bleeds anywhere!
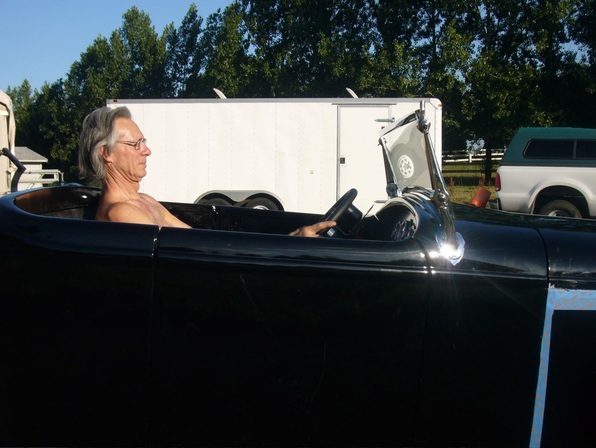
Testing Driver Position/Seat Height.
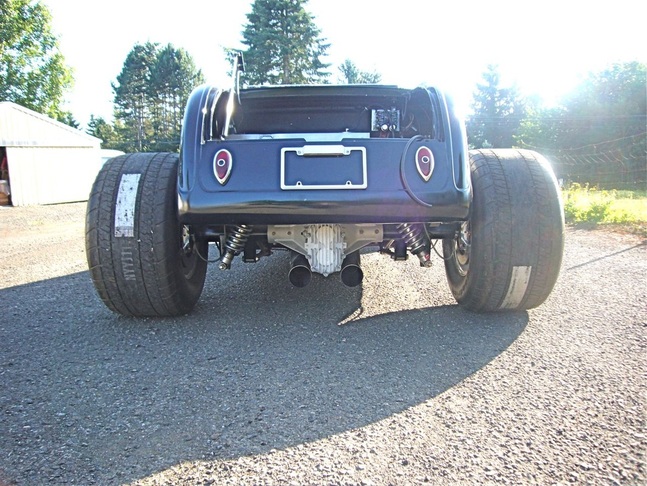
Exhaust Tips Placement.
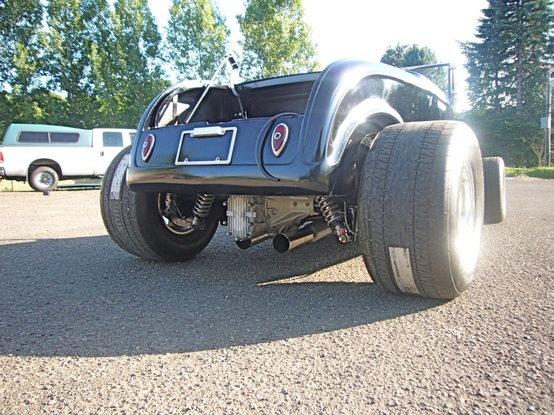
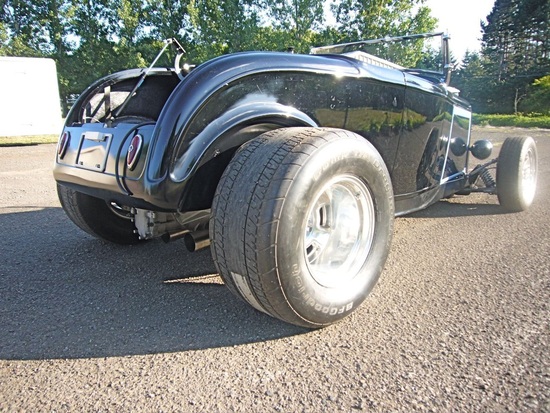
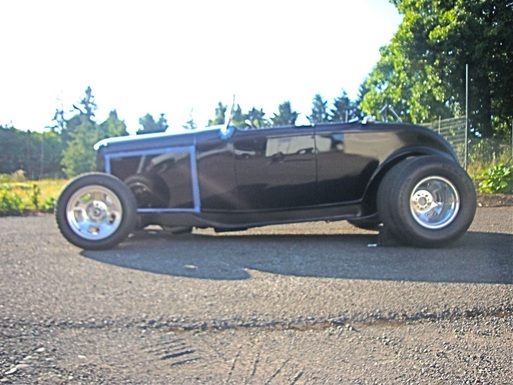
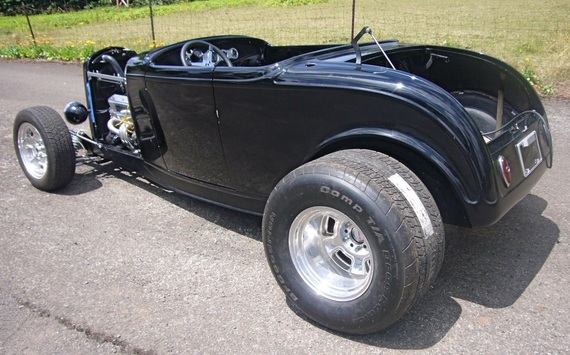
Stance (too low, notice tranny & oil pan to road - never make it over speed bumps!)
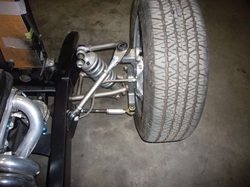
Low stance has misaligned the front suspension. Lower A-arms should be parallel to road, have to adjust it up for clearance & better handling (It is very touchy in this configuration-not safe to drive)
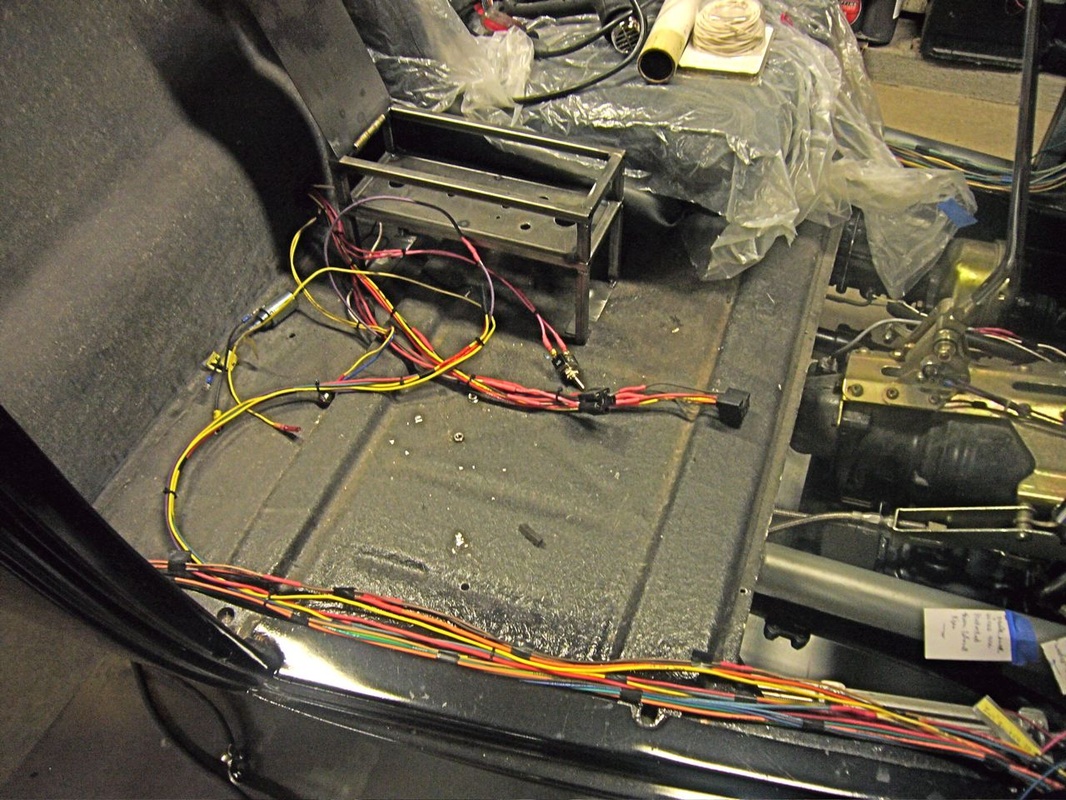
Now that everything electrical works, I can start cleaning up the wiring...
Rubber Grommets with be placed where the fuel line & battery cables so thru floor..
Still determining where the fuel tank breather and overflow line will go thru floor...
Rubber Grommets with be placed where the fuel line & battery cables so thru floor..
Still determining where the fuel tank breather and overflow line will go thru floor...
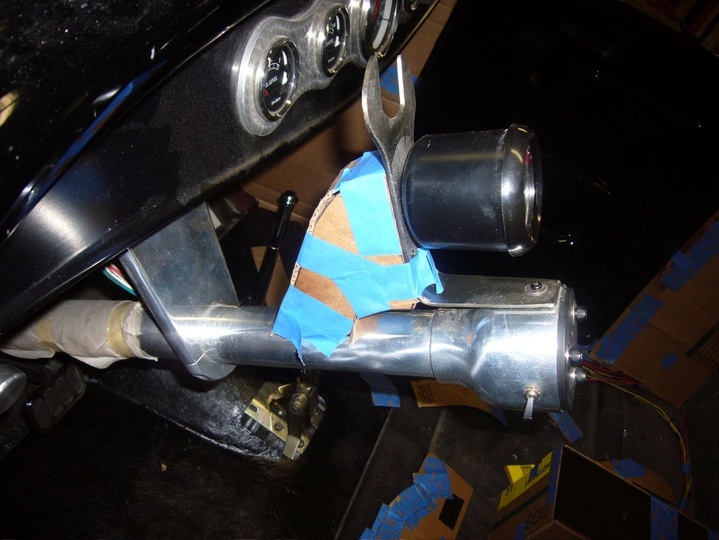
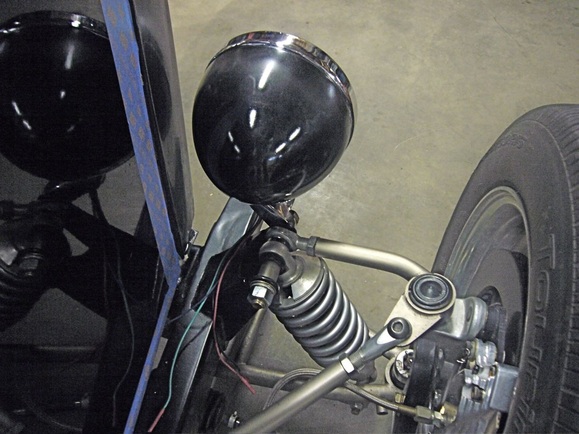
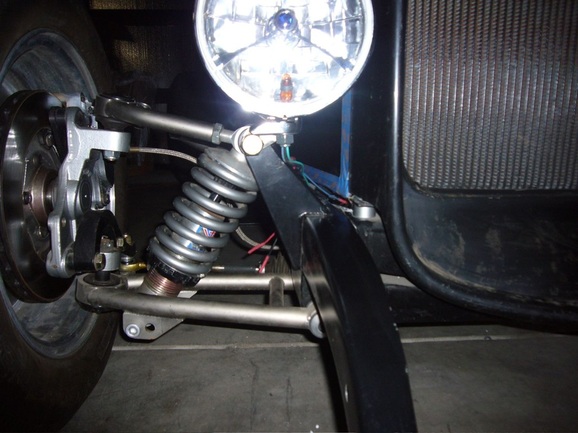
New head light mounts
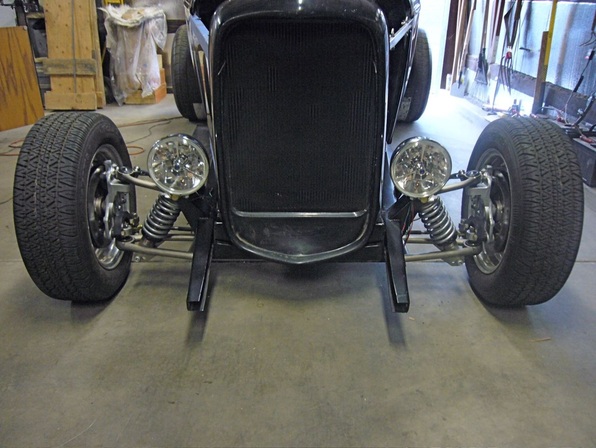
Head lights were originally mounted to grill shell but it wasn't sturdy enough & they vibrated when driving, plus the wiring rubbed against the radiator. Moved them to the top of the suspension, which resulted in the lights being in about the same position as before but much more solid mounting method.
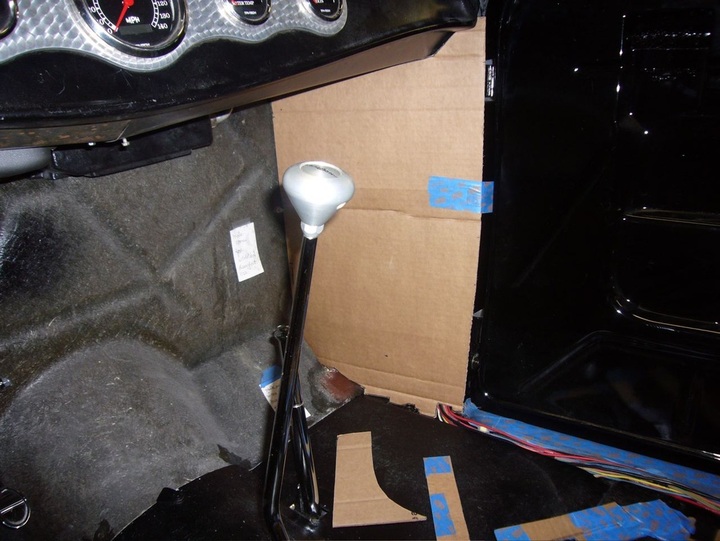
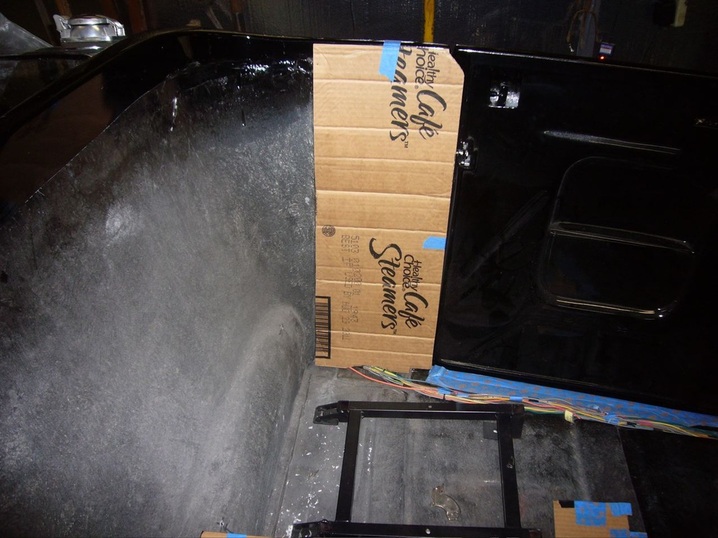
Building Templaets to create sheet metal covers in cab. After
shapes are configured the patterns will be transferred to sheet
metal & cut out. Will be using a table saw with metal blade,
cut off wheel & grinding stones to get the shapes right.
The metal working tools will be used to accomplish
the necessary shaping.
shapes are configured the patterns will be transferred to sheet
metal & cut out. Will be using a table saw with metal blade,
cut off wheel & grinding stones to get the shapes right.
The metal working tools will be used to accomplish
the necessary shaping.
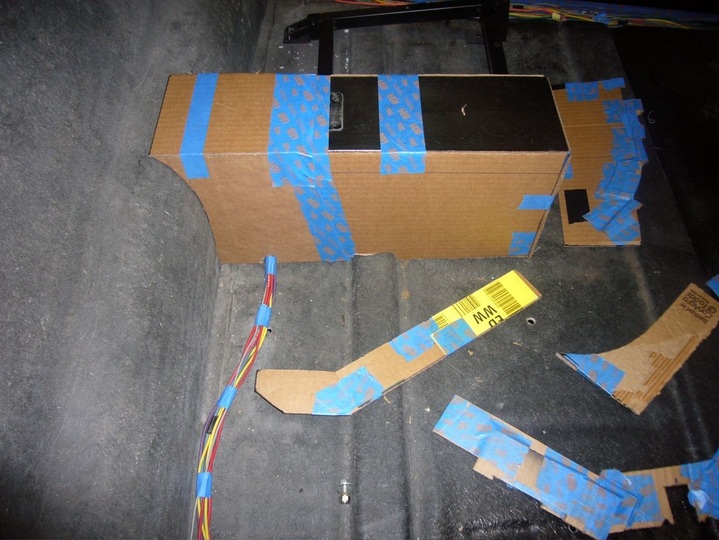
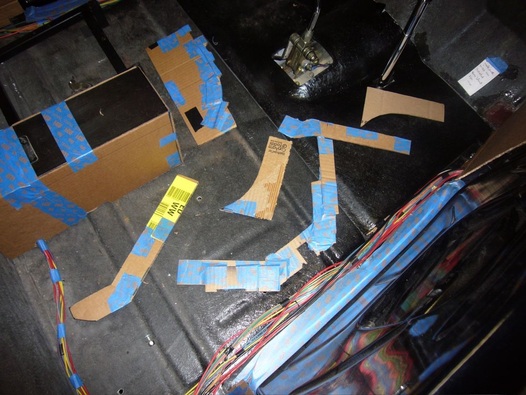
The next set of photos shows the finished cardboard
templates. The pieces shown above are the upper
and lower shapes of the kick panel templates. After getting
them right you measure the distance between top & bottom, then transfer the result to one single sheet.
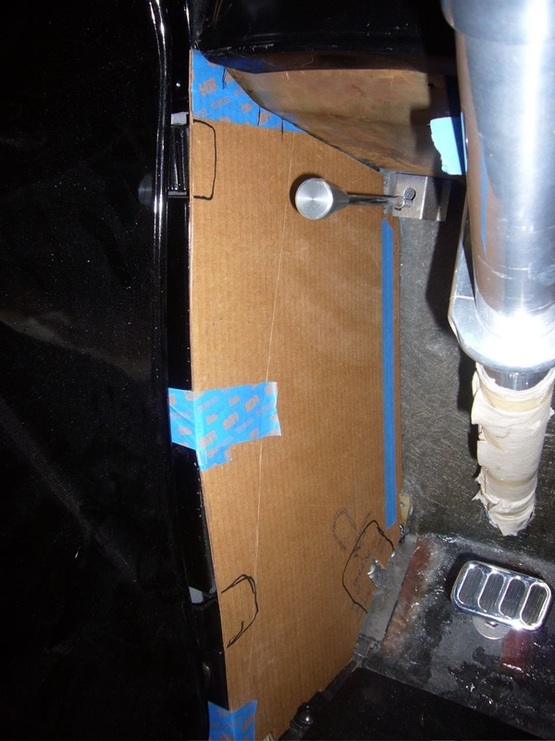
The black marks on the left front panel are "reliefs" that
will be shaped into the metal to allow foot access to the high
beam button & to allow the doors to shut without the
hinges scraping the panels.
templates. The pieces shown above are the upper
and lower shapes of the kick panel templates. After getting
them right you measure the distance between top & bottom, then transfer the result to one single sheet.
The black marks on the left front panel are "reliefs" that
will be shaped into the metal to allow foot access to the high
beam button & to allow the doors to shut without the
hinges scraping the panels.